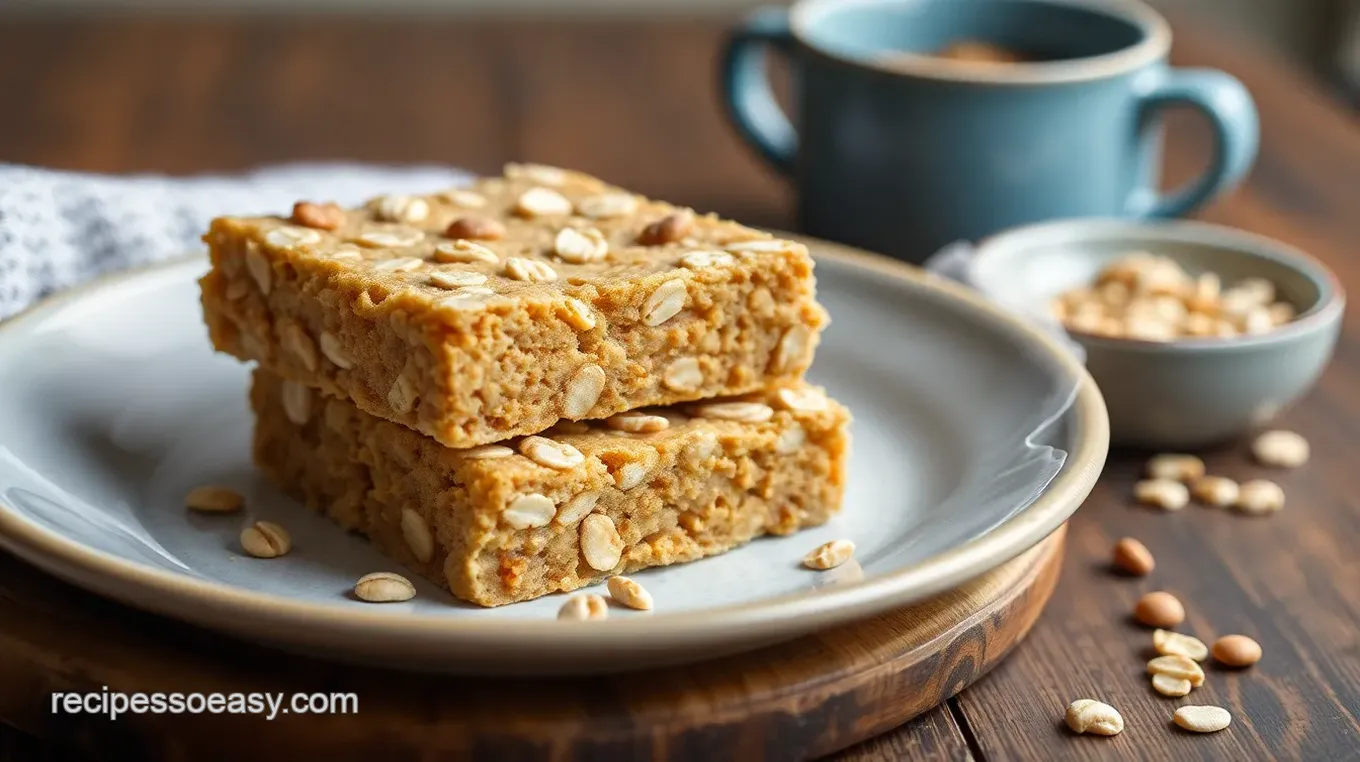
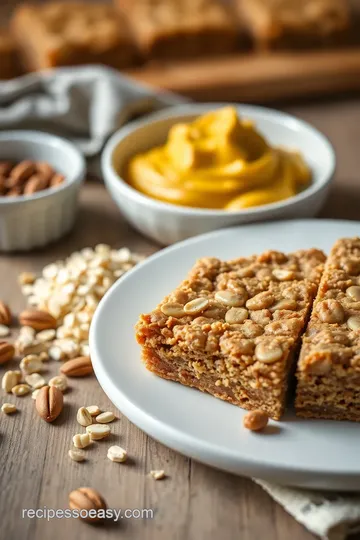
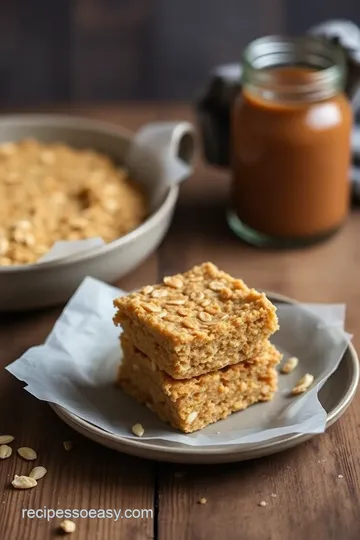
Bake Peanut Butter Oat Bars in 20 Minutes
Want a quick snack? Bake Peanut Butter Oat Bars in 20 minutes! Packed with rich flavor and chewy goodness, they’re a hit at home. Let’s get baking!

- A Quick and Tasty Treat: Bake Peanut Butter Oat Bars in 20 Minutes
- Essential Ingredients Guide
- Mastering the Art of Baking: Your Guide to Professional Cooking Methods
- Pro Tips & Secrets to Mastering Your Bars
- Perfect Presentation: Make It Pop!
- Storage & Make-Ahead: Keep It Fresh
- Creative Variations to Get Funky
- Complete Nutrition Guide for Your Health Kick
- Expert FAQ Solutions to Your Burning Questions
- Let’s Wrap It Up!
- Recipe Card
A Quick and Tasty Treat: Bake Peanut Butter Oat Bars in 20 Minutes
Oh my gosh, i remember the first time i made these peanut butter oat bars . it was one of those chaotic mornings where time slipped away faster than i could brew my coffee.
In my desperate search for something wholesome yet quick, i stumbled upon a recipe. i thought, "can i really bake and eat something delicious in just 20 minutes?" spoiler alert: i totally could! and now, these bars are a staple in my kitchen, perfect for breakfast on-the-go or an afternoon snack.
Honestly, if you’re looking for easy snack ideas that’ll satisfy the sweet tooth without a sugar crash, stick around!
Recipe Overview: A Delicious Slice of History
These chewy delights aren't just a modern invention. the oat bar has roots stretching back to simpler times when oats were a pantry staple.
They were used for nourishing meals for folks working hard on farms. fast forward to today, and these quick peanut butter bars have become a popular choice among families and health-conscious snackers.
With just 20 minutes from prep to plate, they are making a big splash in the fast-dining scene.
The beauty of this healthy oat bar recipe lies in its simplicity. you don’t need advanced cooking skills to whip these up—if you can mix and pour, you’ve got this! plus, it won’t break the bank.
You’re looking at around $5 for a whole batch that yields about 12 bars . that’s a pretty fantastic deal for such a wholesome treat.
Key Benefits: Why You'll Love These Bars
Let’s talk perks! first off, these bars are not only delicious but also packed with nutrients . made from rolled oats and peanut butter, they provide a good balance of protein and fiber.
That means they’ll keep you full longer without the sugar rush. you can feel good knowing you’re munching on something a touch healthier, especially if you're trying to find healthier dessert options or low sugar snack recipes .
These bars are perfect for all sorts of occasions—packed lunches, quick breakfasts, or even that mid-afternoon sugar slump. honestly, who doesn’t need a little energy boost sometimes? they’re versatile, too! pop some chocolate chips in and boom— chocolate chip oat bars are ready for fun.
Make them vegan by switching to maple syrup and using a plant-based peanut butter. got kids? they’ll love these as family-friendly snacks .
Finally, let's not forget about convenience. these bars are portable! toss one in your bag, and you’re all set for a busy day.
You know, life can get hectic, and it's nice to have something on hand that's nutritious.
So, are you ready to jump into the ingredient section? grab your oats, peanut butter, and let’s get started on these tasty nutritious energy bars that take only 20 minutes to bake in the oven.
You’re going to love how easy it is to have delicious snacks ready in no time!

Essential Ingredients Guide
Creating delicious snacks can feel daunting at times, but with the right essential ingredients , you can whip up a fabulous treat in no time! whether you're throwing together a quick breakfast or planning an afternoon pick-me-up, having a reliable list of premium core components is essential.
Oh my gosh, this leads me right into our first section!
Premium Core Components
Let’s start with the basics, shall we? when it comes to staples in your pantry, think of items you can use for quick peanut butter bars , nutritious energy bars , and even those simple oatmeal bars we all love.
Here’s a handy checklist.
- Rolled Oats (2 cups or 180g): Look for ones that are whole and unprocessed; they should feel chewy and have that rustic look.
- Peanut Butter (1 cup or 250g): Go for natural options without added sugar or hydrogenated oils if you can. You want that rich, creamy texture.
- Honey or Maple Syrup (1/2 cup or 100g): These sweeteners should be thick and sticky. If they pour out, they’re probably past their prime.
Storage Tip: Keep these goodies in a cool, dry place. Most nuts and nut butters can last several months unopened, but if you're ever unsure, give the smell test!
When you're picking out ingredients, always check for freshness —those oats should smell like... oats! Any rancid odor? Toss ‘em.
Signature Seasoning Blend
Seasoning is where the magic happens. just like my grandma used to say, "a little dash here and there makes a meal sing!" for our peanut butter snack bars , we can keep it simple.
- Vanilla extract (1 teaspoon): The real deal here will elevate your bars. Artificial vanilla just doesn’t cut it!
- Salt (1/2 teaspoon): Don't skip this! It balances the sweetness like nothing else.
- Cinnamon (optional, 1/2 teaspoon): If you’re feeling spicy, toss this in; trust me, it’s a game-changer.
You can also try variations with other spices—like nutmeg or even some cocoa powder for those Chocolate Chip Oat Bars .
Smart Substitutions
So maybe you’re out of peanut butter—uh oh! Here’s where smart substitutions come in:
- Can't find peanut butter? Try almond or sunflower seed butter. They both pack a punch in flavor and nutrition.
- Running low on honey? Agave or maple syrup saves the day.
- For a vegan twist, simply skip the honey and go full maple all the way!
And if you don’t have rolled oats, but you’ve got quick oats? Sure, they work, but the texture might be slightly different. It’ll still be delish!
Kitchen Equipment Essentials
Now let’s chat tools. You'll want a few essentials to make your life easier. For baking those heavenly Chewy Oatmeal Bars , here’s what you’ll need:
- Large mixing bowl : You’re gonna need room to stir like you mean it!
- Baking pan (8x8 inches): Perfect for our Bake Peanut Butter Oat Bars in 20 Minutes ! Line it with parchment paper for easy removal.
- Spatula : Ideally rubber, it’ll help scrape every last bit of goodness from the bowl.
If you’re low on space, a good ol’ cookie sheet can be a substitute too. Just remember to keep an eye on them while they bake.
Wrapping Up
So there you have it! the essential ingredients and tools that’ll help you make awesome healthy oat bar recipes , all about the pantry staples that keep our snacks delicious and nutritious.
So get ready, because in the next section, we’ll dive right into the joy of creating our delightful speedy peanut butter oat bars .
You won’t believe how simple and satisfying it is to bake them up in just 20 minutes! you ready? let’s do this!
Mastering the Art of Baking: Your Guide to Professional Cooking Methods
Hey there, friend! if you’ve ever wanted to whip up some totally homemade snack bars without breaking a sweat, then you're in for a treat.
Today, we’re diving deep into professional cooking methods that can transform your kitchen game. whether you’re just starting out or brushing up on your skills, you’ve clicked on the right article! trust me, by the end of this, you’ll be ready to bake peanut butter oat bars in 20 minutes and impress your family and friends.
Essential Preparation Steps: Mise en Place is Key
First things first, let’s chat about mise en place . this is just a fancy way of saying "everything in its place.
" before you even think about preheating the oven, gather all your ingredients. for our peanut butter oat bars, you’ll need rolled oats, peanut butter, honey, brown sugar, and a few more things.
Trust me, having everything lined up saves time and keeps you organized.
Time management is also crucial in the kitchen. you don’t want to be scrambling around looking for your measuring cups when your mixture is ready to go.
A little tip: time yourself! give yourself about 10 minutes to prep and 10 minutes to bake, so you’re all wrapped up in just 20 minutes .
Perfect, right?
And hey, don’t forget about safety considerations . Always use oven mitts and keep that kitchen a tidy space. Get rid of spillages right away to prevent any accidents.
Step-by-Step Process: The Art of Precision
Now, let’s dive into some clear, numbered steps to get those bars in the oven:
- Preheat the oven to 350° F (that’s a cozy 175° C ).
- Line your baking pan with parchment paper. This will make your life so much easier when it’s time to cut those bars.
- In a big mixing bowl, combine your dry ingredients: oats, brown sugar, salt, and cinnamon if you’re feeling fancy.
- In another bowl, mix the wet ingredients together until it's smooth like butter—and okay, it is butter… peanut butter, that is!
- Pour the wet mix into the dry and mix it all up. You want those oats fully coated .
- Time to add any goodies! Chocolate chips or dried fruit are great options to fold in.
- Spread the mixture evenly in your pan and press it down firmly.
- Bake for 10 minutes , or until the edges are lightly golden. That’s your cue that they’re almost ready.
Easy, right? Honestly, the most critical part is keeping an eye on the timing and checking for those visual cues of doneness.
Expert Techniques: Your Secret Weapon
Okay, pro tip time! when making these healthy oat bars , the magic is in the details. make sure to check the bars around the 8-minute mark —that golden edge is what you're aiming for.
If they seem too soft, give them an extra minute, but don’t overdo it!
Quality checkpoints are vital here. if you’re using honey, ensure it’s not crystallized; it’ll mess with the texture. and if you ever find your bars crumbling, try adding a little more peanut butter next time.
Success Strategies: Avoiding Rookie Mistakes
Let’s learn from our mistakes , shall we? one common error is trying to cut the bars too soon. seriously, wait until they are cool to slice.
Otherwise, you’ll be left with a gooey mess. also, make sure to store them properly. wrap those bad boys individually and they’ll stay fresh for days.
If you’re feeling ambitious, try making a batch ahead of time! These peanut butter snack bars are the ultimate make-ahead option , perfect for breakfast or a quick snack.
Wrapping It Up: Your Journey to Nutritious Energy Bars
So there you have it! with these expert tips and techniques, you’ll be on your way to baking delicious, nutritious energy bars that are crowd-pleasers.
Remember, the goal is to make healthy snacks without sacrificing taste.
Now that you’re equipped with the basics of professional cooking methods, why not check out more cool recipes? you’ll find tons of options for quick peanut butter bars and other easy snack ideas that can fit into your busy life.
Up next, we’ll dig into additional information about how to store these bars for maximum freshness and maybe a few cooking secrets along the way!

Pro Tips & Secrets to Mastering Your Bars
Let’s dive right in! if you’re looking to bake peanut butter oat bars in 20 minutes , i’ve got a few time-saving tricks up my sleeve.
First off, using natural peanut butter not only offers an earthy flavor but also has healthier fats. if you’re short on time, measure out your dry and wet ingredients in advance and store them in separate bowls.
Trust me, it saves precious seconds when you’re racing against the clock!
Oh, and while we’re on the subject of flavor enhancement, try adding a sprinkle of cinnamon or vanilla extract ; it’ll blow your mind! and don’t skip out on letting your bars cool before cutting.
Otherwise, you’ll get a crumby disaster instead of perfectly chewy oatmeal bars.
Perfect Presentation: Make It Pop!
Now that you've got your bars baked, let’s talk presentation because we all eat with our eyes first, right? for a stunning visual, consider plating techniques like cutting those bad boys into triangles instead of rectangles.
You’ll create a unique twist that makes your snack feel even more gourmet.
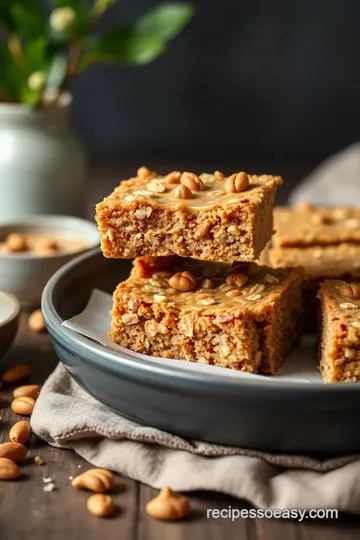
Garnish is key! drizzle some melted chocolate across the top and sprinkle chopped nuts for that instagram-worthy shot. color combinations add appeal too—think dark chocolate against the golden oats.
A pop of color goes a long way!
Storage & Make-Ahead: Keep It Fresh
So, what do you do with leftovers? here's the scoop! wrap your bars individually and store them in an airtight container.
They’ll last about a week at room temperature. if you want to keep them even longer, toss ‘em in the fridge.
They can hang in there for up to two weeks. reheating instructions? just pop them in the microwave for about 10-15 seconds to get that fresh-baked vibe back!
Creative Variations to Get Funky
Feeling adventurous? let’s explore some creative variations ! you can easily switch up the flavors by mixing in chocolate chips or using almond butter instead of peanut butter for a nutty change.
If you're looking for vegan treats , swap the honey for maple syrup.
Seasonal twists are fun too! Try adding pumpkin puree or cranberries in the fall. The best part? There are so many ways to make this recipe fit any occasion!
Complete Nutrition Guide for Your Health Kick
I know what you’re thinking—are these bars actually good for you? here’s the rundown. each serving of my chewy oat bars is around 180 calories with 6g of protein .
Pretty cool, right? they’re basically a nutritious energy bar perfect for that mid-afternoon slump.
Add in some flaxseeds or chia seeds for an extra boost, and boom—you've got yourself a protein-packed snack that fits nicely into your health-conscious diet.
Expert FAQ Solutions to Your Burning Questions
If you're still wondering about the ins and outs of these healthy oat bar recipes , i’ve got your back.
A common question is, “what if my peanut butter is too thick?” no worries—just microwave the peanut butter for a few seconds to loosen it up.
And if your mix feels too dry, a splash of liquid (like almond milk) can save the day!
Need help with success tips? Make sure you pack your mixture tightly into the pan before baking. It helps the bars hold together nicely.
Let’s Wrap It Up!
So there you have it! enjoy your journey with these quick peanut butter bars . they’re not just easy—they're flexible, nutritious, and just plain delicious! the next time you need a quick energy boost, remember, you can whip up these bars in just 20 minutes .
Trust me, once you bake peanut butter oat bars in 20 minutes , you won’t want to go back to snacking on anything else.
Whether it’s breakfast on the go or a yummy dessert, you're set with these homemade snack bars! happy baking, my friend!

Bake Peanut Butter Oat Bars in 20 Minutes Card

⚖️ Ingredients:
- 2 cups rolled oats
- 1 cup creamy peanut butter
- 1/2 cup honey or maple syrup
- 1/4 cup brown sugar, packed
- 1 teaspoon vanilla extract
- 1/2 teaspoon salt
- 1/2 teaspoon cinnamon (optional)
- 1/4 cup chocolate chips or dried fruit (optional)
🥄 Instructions:
- Step 1: Preheat the oven to 350°F (175°C).
- Step 2: Prepare the baking pan: Line it with parchment paper or grease it lightly.
- Step 3: In a large mixing bowl, combine the rolled oats, brown sugar, salt, and cinnamon (if using).
- Step 4: In another bowl, mix together the peanut butter, honey (or maple syrup), and vanilla extract until smooth.
- Step 5: Pour the wet mixture into the dry ingredients and stir until fully combined and the oats are well-coated.
- Step 6: If using, gently fold in chocolate chips or dried fruit.
- Step 7: Pour the mixture into the prepared baking pan and spread it evenly, pressing down firmly.
- Step 8: Place the pan in the oven and bake for 10 minutes, or until the edges are lightly golden.
- Step 9: Allow the bars to cool in the pan for a few minutes, then lift out using the parchment paper (if used), and cut into bars.
Previous Recipe: 10 Amazing Bake Pepperoni Pizza Cups - Tasty Appetizers for Everyone!
Next Recipe: The Ultimate Fried Egg Sandwiches with Cheesy Goodness: 5 Delicious Variations for Breakfast Bliss!
