
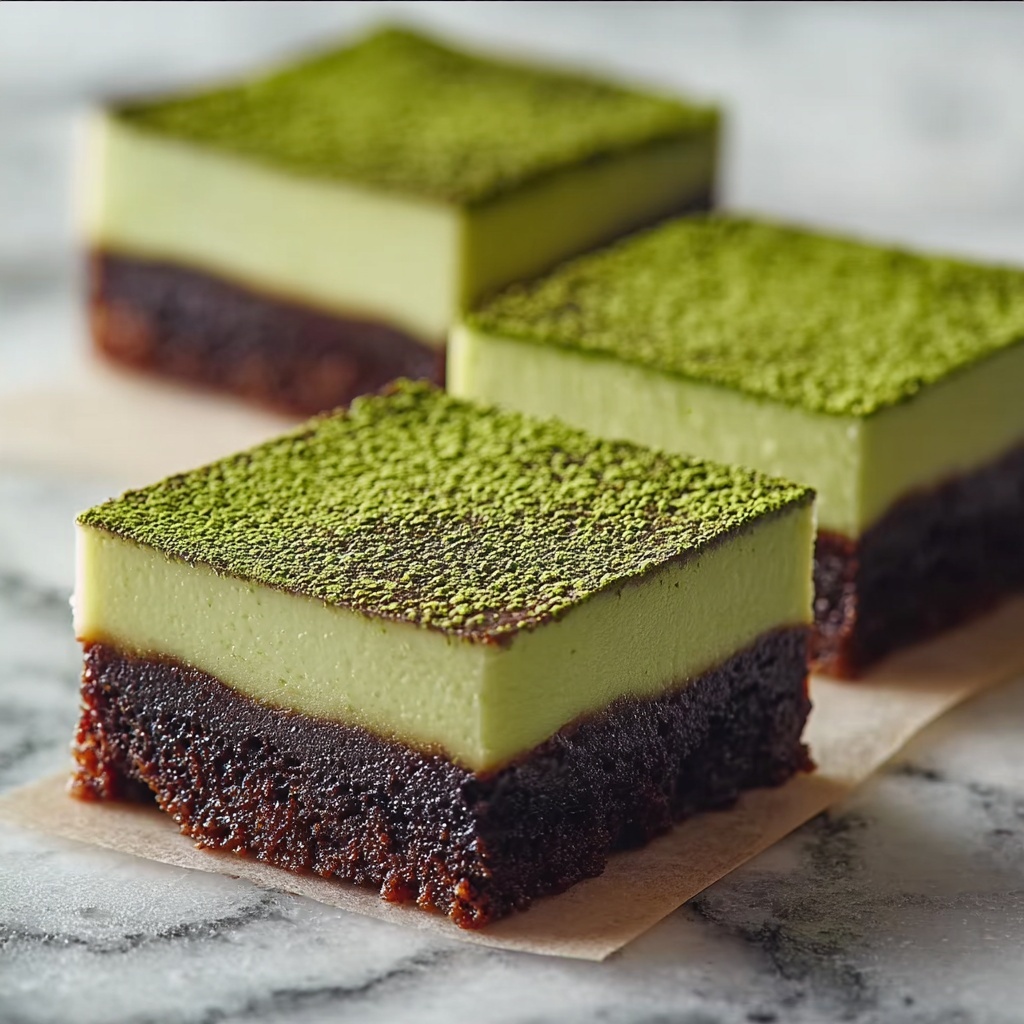
The Matcha Mochi Brownies Recipe is a delightful fusion of rich, fudgy chocolate and the unique, chewy texture of mochi infused with earthy matcha flavor. This treat combines the best of two worlds: the deep cocoa notes of classic brownies and the subtle, grassy brightness of matcha paired with the soft, stretchy mochi layer on top. Whether you’re craving something comforting or want to impress friends with a fresh twist on dessert, this recipe brings a fun, vibrant, and utterly scrumptious experience to your kitchen.
Ingredients You’ll Need
Gathering these ingredients is the first step to creating your Matcha Mochi Brownies Recipe masterpiece. Each one plays a crucial role, from adding fudgy richness to giving the brownies their signature chewy top layer and vibrant green color.
- Unsalted butter (1/2 cup, melted): Provides moisture and a silky texture for decadent brownies.
- Granulated sugar (1 cup + 1/2 cup): Sweetens both the brownie base and mochi topping perfectly.
- Large eggs (2): Bind ingredients and give structure to the brownies.
- Vanilla extract (1 teaspoon + 1/4 teaspoon): Enhances all flavors with warm aromatic notes.
- All-purpose flour (1/2 cup): The foundation for the brownie’s tender crumb.
- Cocoa powder (1/4 cup): Infuses that rich chocolate intensity everyone loves.
- Salt (1/4 teaspoon): Balances sweetness and brings out deeper flavor.
- Matcha powder (1 tablespoon + optional 1/4 teaspoon): Delivers the vibrant green hue and subtle grassy flavor in both layers.
- Glutinous rice flour (1/2 cup): The key to creating that delightful, chewy mochi texture.
- Coconut milk (1/2 cup): Adds creamy moisture and slight richness to the mochi batter; can be substituted with other milks.
How to Make Matcha Mochi Brownies Recipe
Step 1: Prepare Your Oven and Pan
Start by preheating your oven to 350°F (175°C). Grease an 8×8-inch baking pan and line it with parchment paper. This step ensures your brownies come out cleanly and keeps baking hassle-free.
Step 2: Whisk Together the Brownie Base
In a large mixing bowl, whisk the melted butter with 1 cup of sugar until smooth and glossy. Then add the eggs one at a time along with the vanilla extract, whisking until the mixture is fully incorporated and begins to thicken slightly.
Step 3: Combine the Dry Ingredients
In a separate bowl, sift together the all-purpose flour, cocoa powder, salt, and 1 tablespoon of matcha powder. Sifting not only combines everything evenly but also prevents lumps, giving your brownie batter a nice smooth texture.
Step 4: Mix the Batter
Gradually add your dry ingredients to the wet mixture, stirring gently until just combined. Be careful not to overmix as you want your brownies to stay tender and fudgy.
Step 5: Prepare the Mochi Layer
In another bowl, whisk the glutinous rice flour, remaining 1/2 cup sugar, coconut milk, vanilla extract, and the optional 1/4 teaspoon matcha powder until you get a thick, pancake-batter-like consistency. This mochi mix will float on top during baking, creating that perfect chewy layer.
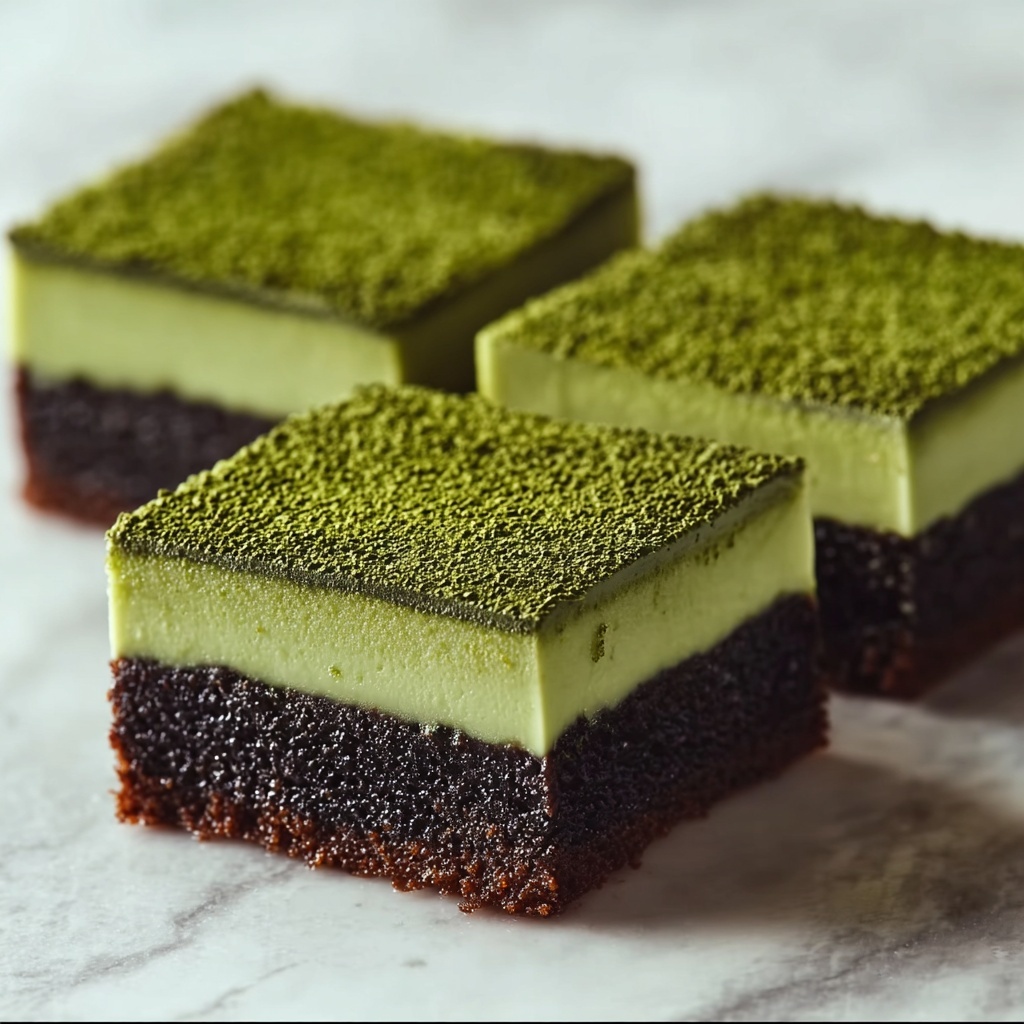
Step 6: Assemble the Layers
Pour the brownie batter evenly into your prepared pan. Then carefully spoon the mochi mixture over the top without mixing them together. The mochi will naturally float over the brownies as they bake, creating a beautiful two-layer effect.
Step 7: Bake Until Perfect
Bake your creation for 30 to 35 minutes. You’ll know it’s ready when the edges are firm and a toothpick inserted near the center comes out with just a few moist crumbs. The mochi layer will set but remain soft and chewy, providing a wonderful contrast.
Step 8: Cool and Slice
Let the brownies cool completely in the pan on a wire rack. Cooling allows the mochi layer to firm up enough to slice cleanly without sticking.
How to Serve Matcha Mochi Brownies Recipe
Garnishes
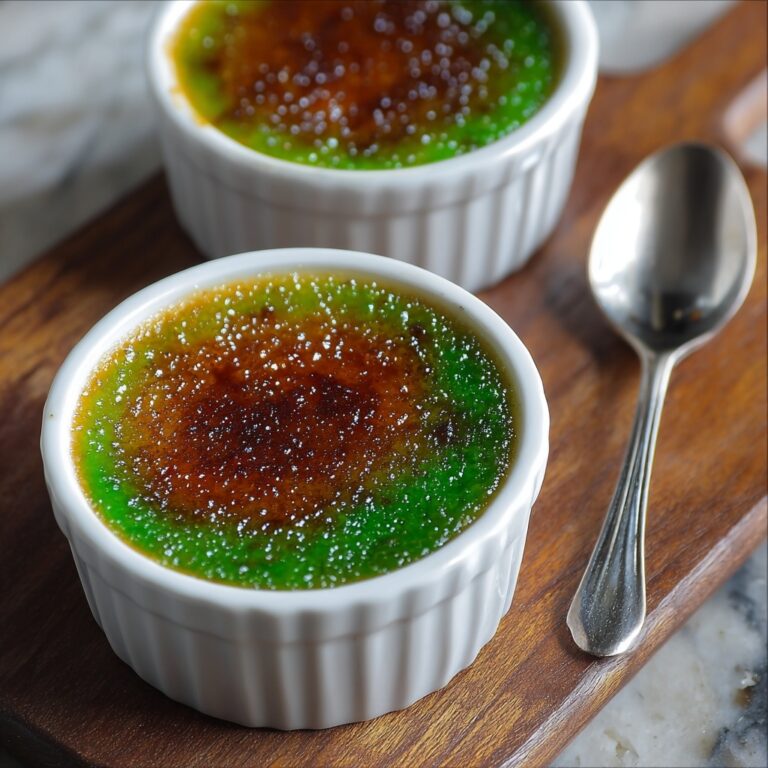
Top your Matcha Mochi Brownies with a sprinkling of powdered sugar or a dusting of extra matcha powder for a vibrant finish. A dollop of whipped cream or a few fresh berries can also lift the presentation and add freshness to each bite.
Side Dishes
These brownies pair beautifully with a scoop of vanilla or green tea ice cream, making your dessert experience even more indulgent. A cup of hot green tea or matcha latte is a classic match that complements the brownies’ flavors perfectly.
Creative Ways to Present
Try cutting the brownies into bite-sized squares and serving them on a wooden board for a casual gathering. For something more elegant, arrange the squares in a staggered stack and drizzle with melted white chocolate or sweetened condensed milk.
Make Ahead and Storage
Storing Leftovers
Matcha Mochi Brownies keep well stored in an airtight container at room temperature for up to 3 days. This helps maintain their chewy texture and fudgy richness without drying out.
Freezing
If you want to enjoy these brownies later, wrap them tightly in plastic wrap and place in a freezer-safe bag or container. Freeze for up to 2 months. Thaw overnight in the fridge before serving to preserve the texture.
Reheating
To warm leftovers, pop slices in the microwave for 15-20 seconds or place them in a preheated oven at 300°F (150°C) for about 5-7 minutes. This refreshes the gooey mochi and fudgy brownie layers nicely.
FAQs
Can I use regular rice flour instead of glutinous rice flour?
Regular rice flour won’t give you that signature chewy mochi texture, as glutinous rice flour contains the necessary starches to create that stretchy consistency. For authentic results, it’s best to stick with glutinous rice flour.
Is it possible to make this recipe dairy-free?
Absolutely! You can substitute the butter with a plant-based margarine or coconut oil and use coconut milk or any other plant milk for the mochi layer. The texture and flavor remain deliciously close to the original.
How strong is the matcha flavor in these brownies?
The Matcha Mochi Brownies Recipe offers a subtle but distinct matcha flavor that complements the chocolate without overpowering it. If you love matcha, you can add the optional extra matcha powder in the mochi layer for a more pronounced green tea punch.
Can I make these brownies gluten-free?
Yes! Since the recipe already contains glutinous rice flour, simply ensure you use gluten-free all-purpose flour for the brownie base. This will keep the chewy and fudgy combo intact without gluten.
Why does the mochi layer float on top instead of mixing in?
The mochi batter is denser and behaves differently than the brownie batter during baking. This causes it to float and settle as a distinct, chewy topping rather than mixing together, giving you those two lovely contrasting textures in every bite.
Final Thoughts
The Matcha Mochi Brownies Recipe is such a fantastic way to transform a classic beloved dessert with a fun, chewy twist and a splash of vibrant green goodness. It’s a crowd-pleaser that’s surprisingly easy to make and perfect for any occasion. Trust me, once you try these brownies, they’ll quickly become a new favorite to bake and share!
Print
Matcha Mochi Brownies Recipe
- Prep Time: 20 minutes
- Cook Time: 35 minutes
- Total Time: 55 minutes
- Yield: 9 servings
- Category: Dessert
- Method: Baking
- Cuisine: Fusion (Japanese-American)
- Diet: Vegetarian
Description
These Matcha Mochi Brownies combine the rich, fudgy texture of classic cocoa brownies with a chewy, subtly sweet mochi layer infused with earthy matcha powder. Baked to perfection, this unique dessert offers a delightful contrast of flavors and textures, perfect for fans of both Japanese treats and traditional brownies.
Ingredients
Brownie Batter
- 1/2 cup unsalted butter, melted
- 1 cup granulated sugar
- 2 large eggs
- 1 teaspoon vanilla extract
- 1/2 cup all-purpose flour
- 1/4 cup cocoa powder
- 1/4 teaspoon salt
- 1 tablespoon matcha powder (culinary grade)
Mochi Layer
- 1/2 cup glutinous rice flour (sweet rice flour)
- 1/2 cup granulated sugar
- 1/2 cup coconut milk (or any milk of choice)
- 1/4 teaspoon vanilla extract
- 1/4 teaspoon matcha powder (optional, for extra flavor)
Instructions
- Prepare the Oven and Pan: Preheat your oven to 350°F (175°C). Grease an 8×8-inch baking pan and line it with parchment paper to ensure easy removal of the brownies after baking.
- Make the Brownie Batter: In a large mixing bowl, whisk together the melted butter and granulated sugar until the mixture is smooth and well combined.
- Add Eggs and Vanilla: Incorporate the eggs and vanilla extract into the butter and sugar mixture, whisking thoroughly until fully combined and slightly thickened.
- Sift Dry Ingredients: In a separate bowl, sift together the all-purpose flour, cocoa powder, salt, and matcha powder to ensure even distribution and to avoid lumps.
- Combine Dry and Wet Ingredients: Gradually add the dry ingredients into the wet ingredients, stirring gently until the batter is smooth and fully combined, avoiding overmixing.
- Prepare the Mochi Layer: In a medium-sized bowl, combine the glutinous rice flour, sugar, coconut milk, vanilla extract, and optional matcha powder. Stir well until the mixture is smooth and resembles a thick batter similar to pancake batter.
- Assemble the Brownies: Pour the brownie batter evenly into the prepared baking pan, spreading it out smoothly with a spatula.
- Add Mochi Topping: Pour the mochi mixture over the brownie batter gently. The mochi will naturally float on top and should not be mixed into the brownie layer.
- Bake: Place the pan in the preheated oven and bake for 30-35 minutes, or until the edges are firm and a toothpick inserted into the center comes out with a few moist crumbs. The mochi layer will set but remain soft and chewy.
- Cool and Serve: Remove the brownies from the oven and let them cool completely in the pan on a wire rack. Once cooled, lift the brownies out using the parchment paper, slice into squares, and serve the delightful combination of fudgy brownie and chewy mochi.
Notes
- Use glutinous rice flour specifically for the mochi layer to achieve the desired chewy texture.
- Substitute coconut milk with any milk of choice if preferred, but coconut milk adds a distinct flavor.
- For extra matcha flavor, add the optional 1/4 teaspoon matcha powder into the mochi mixture.
- Make sure not to mix the brownie and mochi layers; they create a beautiful layered effect during baking.
- Allow the brownies to cool fully before slicing to ensure clean cuts and set layers.


