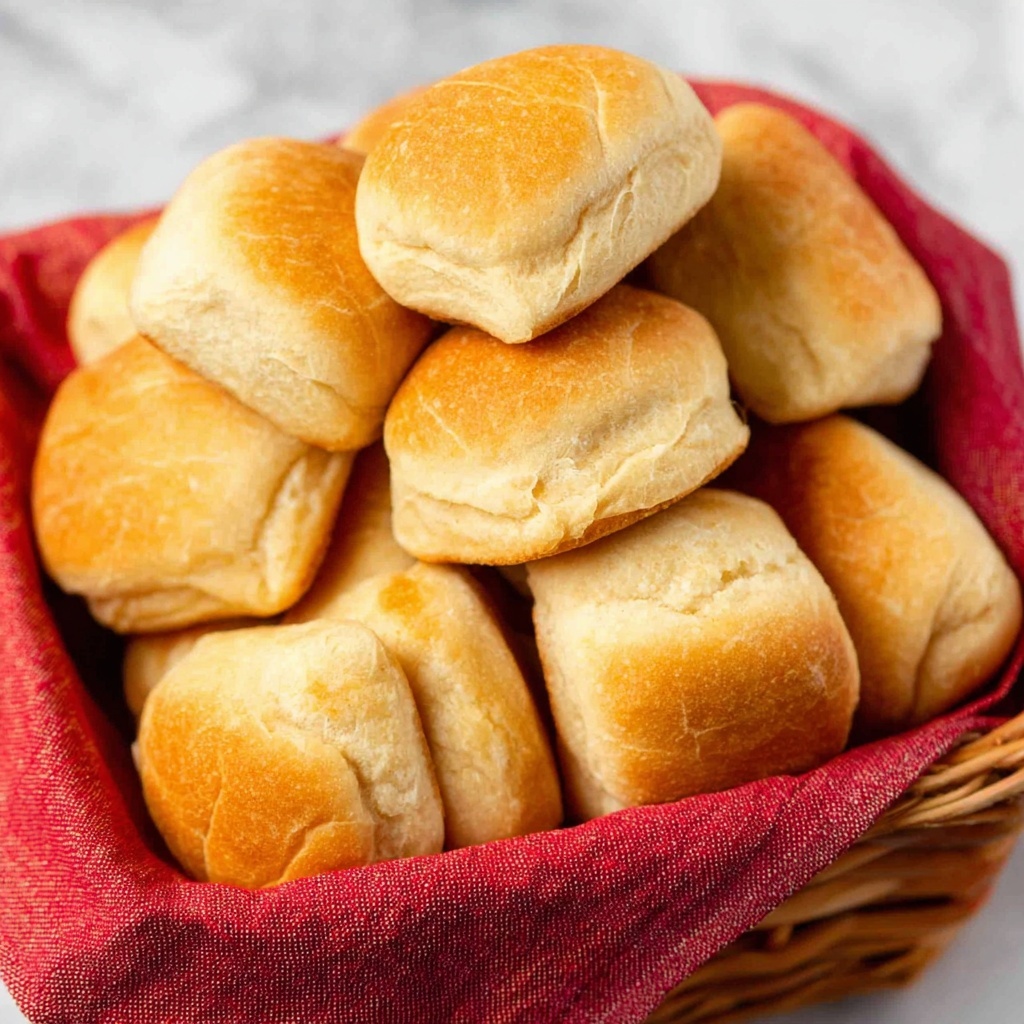
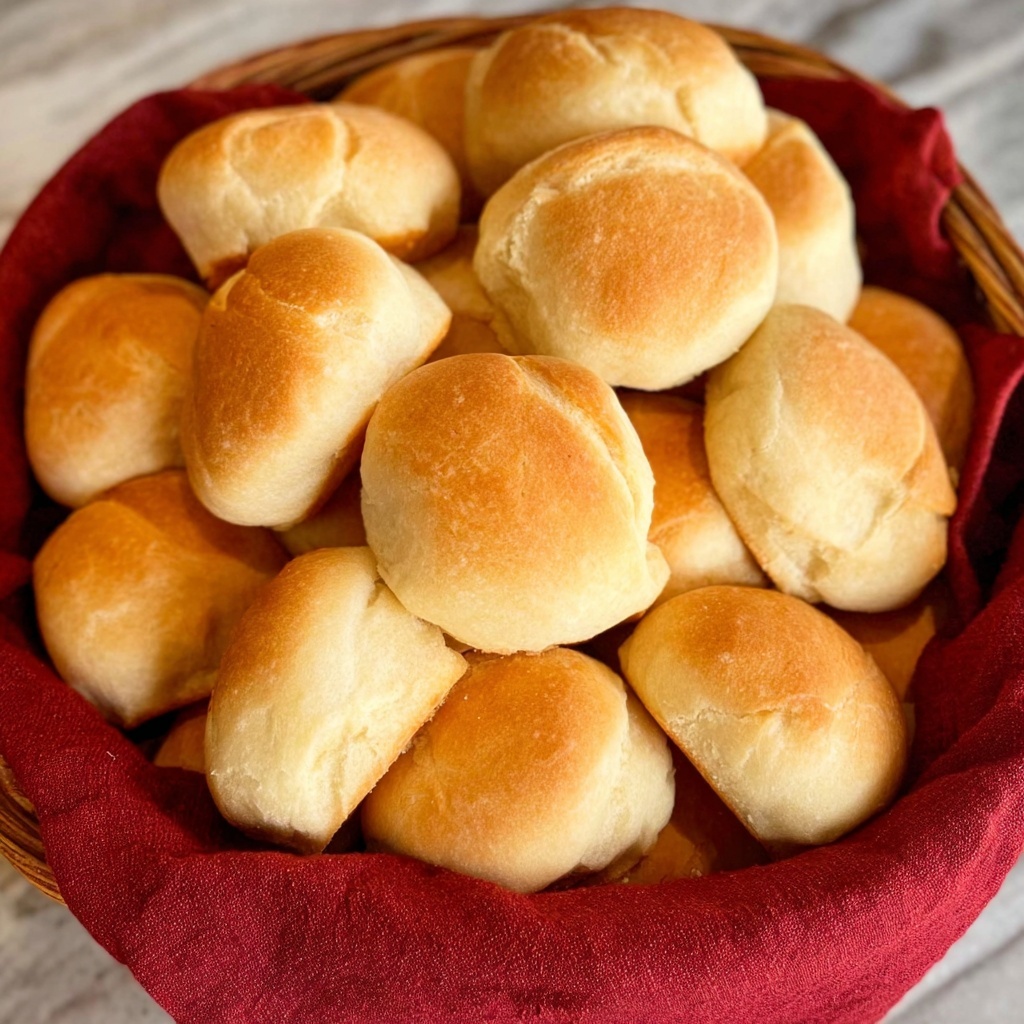
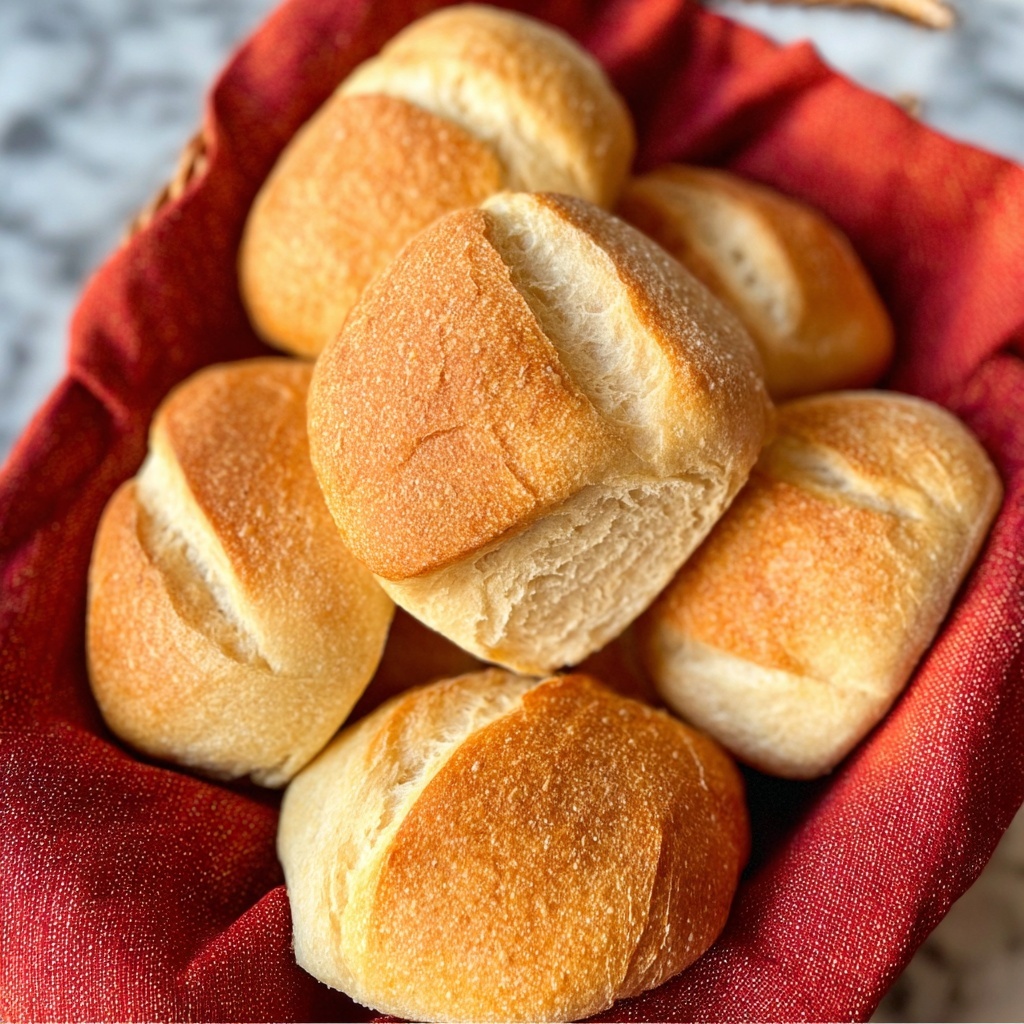
If you’re searching for a warm, buttery treat to have ready when guests arrive or as a comforting addition to your family meal, the Make Ahead Pocketbook Rolls Recipe is just what you need. These soft, tender rolls boast a light golden crust and a delicious, slightly sweet flavor that comes from the perfect blend of buttermilk, sugar, and shortening. What makes this recipe truly stand out is how you can prepare the dough ahead of time, letting it rest in the fridge so it’s fresh and ready to bake whenever you need a batch of golden rolls. Whether breakfast, dinner, or a special occasion, these pocketbook rolls bring a homemade touch that feels both effortless and impressive.
Ingredients You’ll Need
This recipe uses simple pantry staples that work harmoniously to create the soft texture, subtle sweetness, and delightful flavor that defines these rolls. Each ingredient plays a vital role in the dough’s rise, moisture, and richness.
- Active dry yeast: the magic agent that makes your rolls rise and become fluffy.
- Lukewarm water: helps activate the yeast gently without killing it.
- Self-rising flour: provides a nice balance of flour and leavening for tenderness.
- Baking soda: adds a slight lift and counters acidity from the buttermilk.
- Sugar: adds a touch of sweetness and aids yeast fermentation.
- Crisco shortening: creates that signature tender crumb and buttery mouthfeel.
- Buttermilk: gives the rolls a rich, tangy flavor and keeps them moist.
- Melted butter: perfect for brushing on top to create a golden, buttery finish.
How to Make Make Ahead Pocketbook Rolls Recipe
Step 1: Activate the Yeast
Start by dissolving the active dry yeast in lukewarm water. This warm bath wakes up the yeast and prepares it for fermentation, which is crucial for those perfectly fluffy rolls later on. You’ll want the water around 110 degrees Fahrenheit—warm enough to activate but not so hot it kills the yeast.
Step 2: Combine Dry Ingredients and Cut in Shortening
In a large bowl, mix together the self-rising flour, baking soda, and sugar. Next, cut in the Crisco shortening using a pastry cutter or two forks. The shortening creates small pockets of fat throughout the dough that help make the rolls incredibly tender and soft once baked.
Step 3: Mix Dough and Add Wet Ingredients
Add the activated yeast mixture and buttermilk to the flour mixture. Stir everything together until a dough forms. It may be slightly sticky, but that’s perfect—it means your rolls will remain moist and light. Avoid overmixing to keep the texture nice and soft.
Step 4: Refrigerate the Dough
Here’s the genius part of this Make Ahead Pocketbook Rolls Recipe: cover the dough and refrigerate it overnight or for up to two weeks. Letting the dough rest this long develops deeper flavor and makes future baking super quick. It’s like prepping magic in your fridge.
Step 5: Prepare the Dough for Shaping
About two hours before you want to serve, take the dough out of the fridge and place it on a floured surface. Punch it down lightly to release excess air, then knead just a few times to bring it back to life, keeping that wonderful texture intact.
Step 6: Shape the Rolls
Roll the dough out to about 1/2-inch thickness and use a biscuit cutter to cut out your pocket-sized rounds. Gather any scraps, reroll, and cut out more rolls until you use all the dough. This step is fun because you can shape the rolls with your family or friends as a mini baking party!
Step 7: Butter and Fold
Brush the tops generously with melted butter and gently fold each roll over itself. This not only adds buttery richness but also creates the signature “pocketbook” shape and layers inside the roll.
Step 8: Proof the Rolls
Place the prepared rolls on a parchment-lined baking sheet. Cover them with a clean cloth and let them rise until nearly doubled in size, about one hour. This final rise ensures your rolls will be light and fluffy once baked.
Step 9: Bake and Finish
Preheat your oven to 375 degrees Fahrenheit. Before popping the rolls in, give them one more brush of melted butter to encourage a gorgeous golden color. Bake for 15 minutes or until tops are beautifully golden brown. Serve them warm for the best experience!
How to Serve Make Ahead Pocketbook Rolls Recipe
Garnishes
Though these rolls are delicious on their own, a sprinkle of flaky sea salt on top right after baking can elevate their flavor even more. You can also serve them with herbed butter or garlic butter for an extra burst of richness. For a subtle sweetness twist, a light drizzle of honey butter is divine.
Side Dishes
These pocketbook rolls pair wonderfully with soups, hearty stews, and salads. Think creamy chicken pot pie, tangy chili, or a fresh garden salad to balance the richness of the rolls. They’re perfect for soaking up sauces or serving as a cozy side wrap for a sandwich filling.
Creative Ways to Present
To impress guests, arrange these rolls in a wicker basket lined with a colorful napkin. You could also serve them as mini sandwiches stuffed with ham and cheese, or create an array of small bites by slicing the rolls and topping with smoked salmon or pimento cheese for a fun appetizer twist.
Make Ahead and Storage
Storing Leftovers
Once cooled, store any leftover pocketbook rolls in an airtight container or resealable bag at room temperature. They’ll stay fresh for up to 2-3 days, ready to be enjoyed at breakfast or as a snack.
Freezing
If you want to keep them longer, these rolls freeze beautifully. Wrap them tightly in plastic wrap, then place in a freezer-safe bag. They will maintain quality for up to 3 months. When you’re ready, thaw overnight in the fridge or for a few hours at room temperature.
Reheating
For reheating, pop the rolls in a preheated 350-degree Fahrenheit oven for about 10 minutes, covered loosely with foil to avoid over-browning. You’ll get that warm, fresh-baked aroma again and the soft, buttery texture you love.
FAQs
Can I use regular flour instead of self-rising flour?
You can, but you’ll need to add your own leavening agents: typically 1 1/2 teaspoons of baking powder and 1/2 teaspoon of salt per cup of all-purpose flour to mimic self-rising flour’s effect.
How long can I refrigerate the dough before baking?
This recipe is flexible—you can refrigerate the dough for at least overnight and up to two weeks. Just make sure the dough is covered well to prevent drying out or developing an off smell.
Can I substitute shortening with butter?
Butter will work, but shortening contributes to the rolls’ tenderness and softness more effectively. If using butter, consider chilling the dough thoroughly since butter melts at a lower temperature.
What’s the best way to cut the rolls?’
A biscuit cutter or a round cookie cutter works perfectly to get even, neat rolls. If you don’t have one, a glass rim can be an excellent substitute to cut the dough.
Can I make these rolls gluten-free?
For gluten-free versions, you will need a gluten-free self-rising flour blend designed for baking, but results may vary since yeast doughs depend on gluten structure for rise and texture.
Final Thoughts
There’s something undeniably rewarding about pulling warm, buttery pocketbook rolls fresh from the oven, especially when you’ve prepared the dough in advance and saved yourself precious time. This Make Ahead Pocketbook Rolls Recipe offers the perfect balance of ease, flavor, and that homemade feeling we all cherish. So go ahead, try making these rolls your new kitchen staple, and share their cozy goodness with everyone around your table!
Print
Make Ahead Pocketbook Rolls Recipe
- Prep Time: 240 minutes
- Cook Time: 15 minutes
- Total Time: 255 minutes
- Yield: 3.3 dozen (approximately 40 rolls)
- Category: Baking
- Method: Baking
- Cuisine: American
Description
These Make Ahead Pocketbook Rolls are soft, buttery, and perfect for preparing in advance. The dough can be refrigerated from overnight up to two weeks, making them a convenient and delicious addition to any meal. Rolled out, cut, and brushed with melted butter, these rolls bake to a golden brown perfection in just 15 minutes, ideal for serving fresh and warm.
Ingredients
Yeast Mixture
- 2 (0.75-oz) packages active dry yeast
- ¼ cup lukewarm water (110°F)
Dry Ingredients
- 5 cups self-rising flour
- ½ tsp baking soda
- 6 Tbsp sugar
Wet Ingredients
- 1 cup Crisco shortening
- 2 cups buttermilk
- Melted butter for brushing
Instructions
- Dissolve Yeast: In a small bowl, dissolve the active dry yeast in the lukewarm water (110°F). Set aside to activate.
- Mix Dry Ingredients and Cut in Shortening: In a large bowl, combine the self-rising flour, baking soda, and sugar. Use a pastry cutter or two forks to cut in the Crisco shortening until the mixture resembles coarse crumbs.
- Add Liquids and Form Dough: Add the activated yeast mixture and buttermilk to the dry ingredients. Stir until a dough forms.
- Refrigerate Dough: Cover the dough with plastic wrap or a damp cloth and place it in the refrigerator overnight or up to 2 weeks. This slow fermentation enhances flavor and allows for make-ahead convenience.
- Prepare Dough Before Baking: Two hours before you plan to serve, remove the dough from the refrigerator. Place it on a floured board, punch down any air bubbles, and knead lightly to smooth it.
- Roll and Cut Dough: Roll the dough out to about 1/2-inch thickness. Use a biscuit cutter to cut out individual rolls. Reroll any scraps and cut additional rolls.
- Shape and Butter Rolls: Brush the tops of the cut dough circles with melted butter and fold them over to form pocketbook shapes.
- Let Rolls Rise: Place the shaped rolls on a baking sheet lined with parchment paper. Cover and let them rise for about 1 hour until slightly puffed.
- Preheat Oven: Preheat your oven to 375ºF (190ºC).
- Bake Rolls: Rebrush the tops with melted butter before baking. Bake for 15 minutes or until the rolls turn golden brown.
- Serve: Remove from oven and serve the pocketbook rolls immediately for best texture and flavor.
Notes
- Using self-rising flour simplifies the recipe by providing the needed leavening agents; if unavailable, you can substitute all-purpose flour with added baking powder and salt.
- The dough can be refrigerated for up to 2 weeks, making it perfect for meal planning and quick baking on demand.
- For a richer flavor, brush additional melted butter on the rolls immediately after baking.
- If you don’t have a biscuit cutter, a round glass or cookie cutter can be used.
- Ensure the water is not too hot when dissolving yeast to avoid killing it; 110°F is the ideal temperature.

