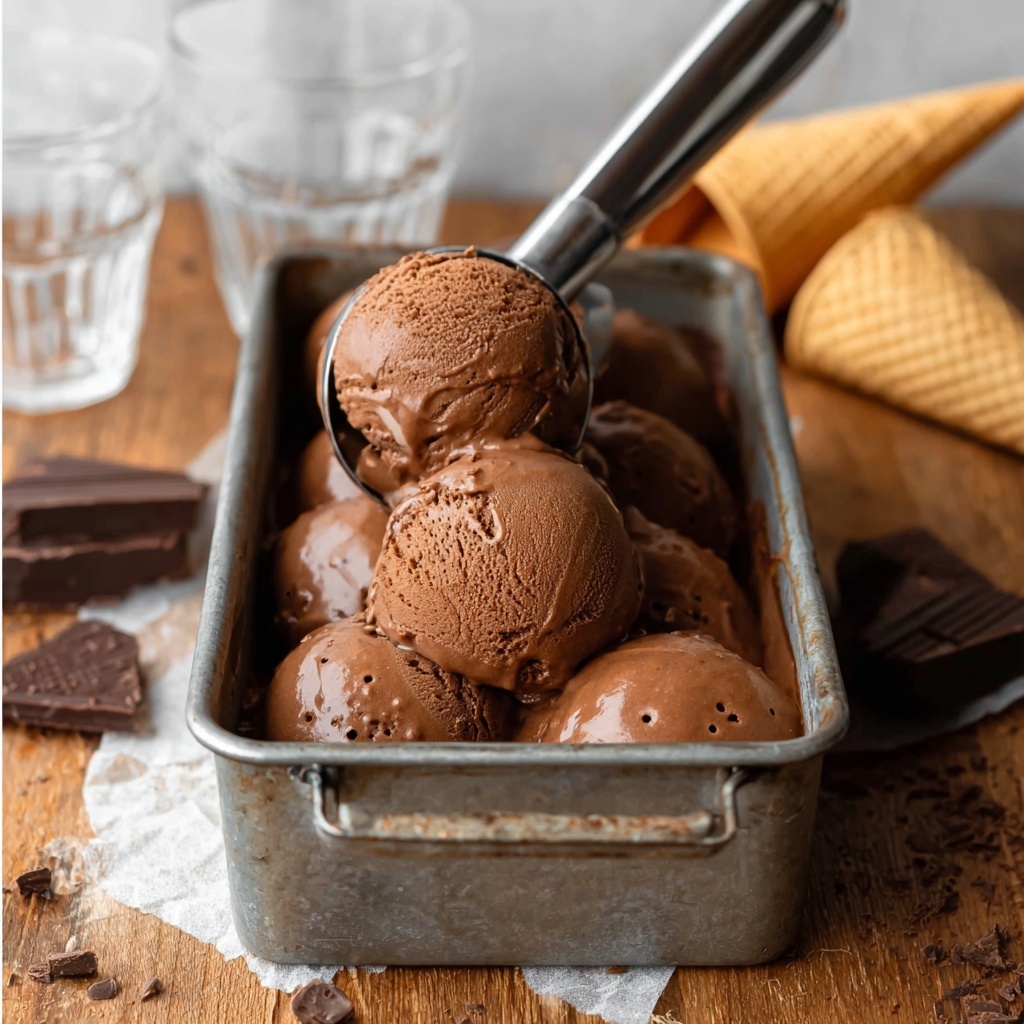
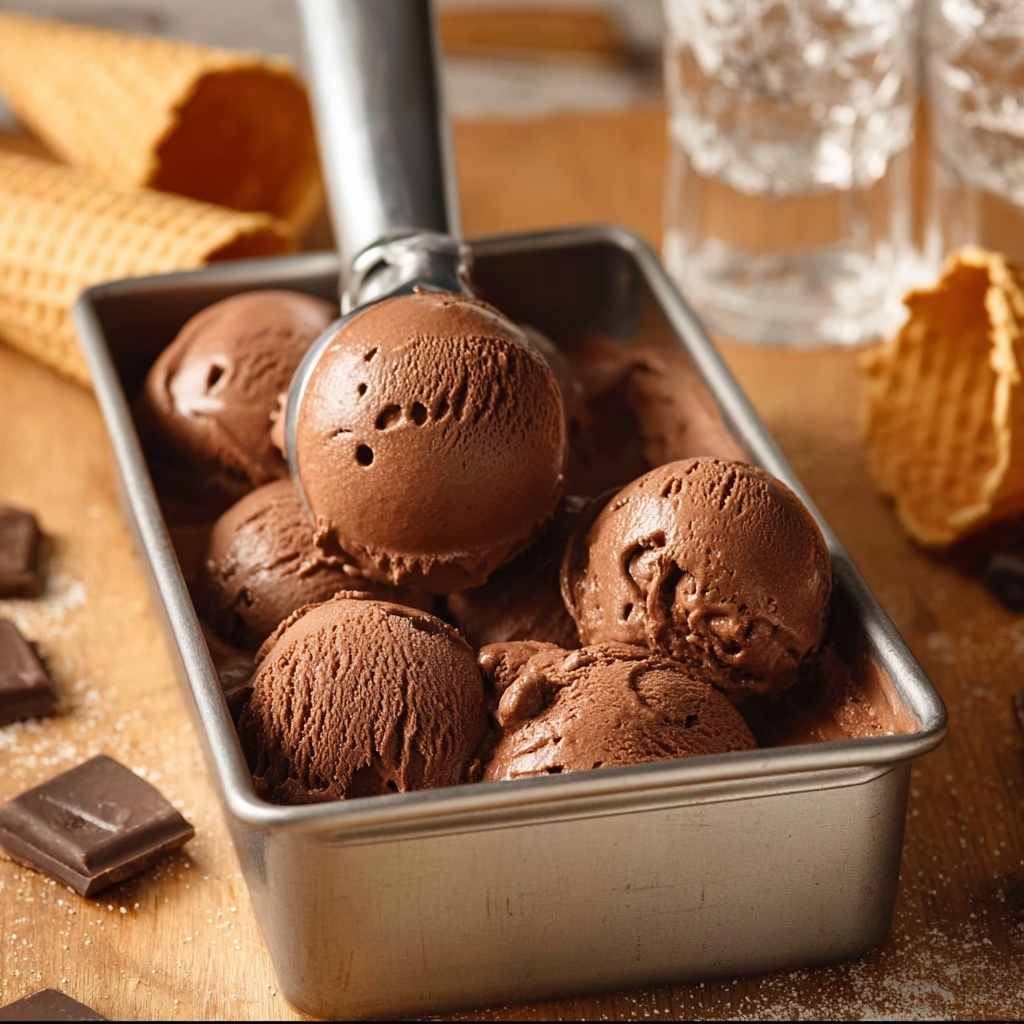
If you have a craving for something rich, creamy, and utterly indulgent, then this Chocolate Vegan Oat Milk Ice Cream Recipe is destined to be your new favorite treat. Combining the smoothness of oat milk and oat cream with the deep, intense flavor of dark chocolate and cocoa powder, this recipe is a celebration of plant-based decadence. It’s perfect for anyone who wants a luscious dessert without dairy but with all the creaminess you crave. Plus, it’s incredibly straightforward to make, meaning you can enjoy homemade vegan ice cream without any fuss.

Ingredients You’ll Need
Gathering the right ingredients is the key to nailing this ice cream. Each one plays a crucial role, from the smooth creaminess of oat milk to the richness of dark chocolate, bringing everything together in perfect harmony.
- Vegan dark chocolate (200 g): Choose a minimum of 70% cocoa solids for that bold chocolate flavor and creamy melt.
- Unsweetened oat milk (360 ml): Barista-style oat milk works best for its creamy texture and slight sweetness.
- Oat cream (400 ml): This adds the luxurious body that makes the ice cream scoopable and smooth.
- Dutch-processed cocoa powder (25 g): Adds an extra layer of chocolate intensity and deep color.
- Sea salt (½ teaspoon): Enhances all the flavors and balances the sweetness perfectly.
- Pure maple syrup (180 ml): A natural sweetener that lends a gentle, caramel-like note to the ice cream.
How to Make Chocolate Vegan Oat Milk Ice Cream Recipe
Step 1: Prepare your chocolate and ice cream maker
To begin, ensure your ice cream maker bowl has been frozen for at least 12 hours — 24 is even better for a perfect freeze. Finely chop your vegan dark chocolate with a serrated knife and place it into a large mixing bowl. This preparation step helps the chocolate melt smoothly when combined with the warm oat milk mixture.
Step 2: Warm the oat milk mixture
In a saucepan, combine oat milk, oat cream, Dutch-processed cocoa powder, and sea salt. Whisk everything thoroughly to remove any lumps and heat gently over medium heat. Keep stirring until the mixture is hot and just starting to simmer. It’s very important not to let it boil, so you preserve the smooth texture and prevent any bitterness from the cocoa.
Step 3: Infuse the chocolate with flavor
Pour the hot oat milk mixture over your chopped dark chocolate and let it sit uncovered for five minutes. This waiting time allows the chocolate to melt gently from the heat. Once melted, stir the mixture with a metal spoon until it’s completely smooth. Then whisk in the pure maple syrup, blending everything into a silky, luscious base. Let it cool to room temperature, then pop it in the fridge to chill for at least 30 minutes.
Step 4: Churn your ice cream
Once chilled, transfer the mixture to your ice cream maker bowl. Follow the manufacturer’s instructions to churn, usually a process taking 25 to 40 minutes. You’ll know it’s ready when the ice cream thickens up and clings to the machine’s arm. This churning step is what creates that irresistibly creamy texture without any dairy at all.
Step 5: Freeze for perfect firmness
Transfer the churned ice cream to a loaf pan or airtight container and smooth the surface. Freeze for another 3 to 4 hours until it’s fully set. If you prefer soft serve style, you can enjoy it straight from the machine for a lighter, silkier treat.
Step 6: Store it right
Store the ice cream in a sealed container or wrap the loaf pan tightly with plastic wrap to prevent ice crystals from forming. For the best scooping experience, remove the ice cream from the freezer and let it sit for 10 minutes before serving.
How to Serve Chocolate Vegan Oat Milk Ice Cream Recipe
Garnishes
The simplicity of your Chocolate Vegan Oat Milk Ice Cream Recipe means there’s plenty of room to have fun with toppings. Fresh berries, chopped nuts, or a drizzle of vegan caramel sauce add beautiful texture and contrast. A sprinkle of coconut flakes or a dusting of cocoa powder can elevate your presentation to the next level.
Side Dishes
This vegan ice cream pairs wonderfully with warm desserts like a rich brownie, crispy apple crisps, or spiced ginger cookies. Adding a side can create a comforting dessert duo that’s sure to impress at any gathering or cozy night in.
Creative Ways to Present
For a playful twist, serve scoops in waffle cones or hollowed-out chocolate cups. You could also use it as a decadent filling for vegan ice cream sandwiches or top vegan pancakes and waffles for a luxurious brunch treat. The creamy texture of this recipe is versatile and inviting for inventive serving ideas.
Make Ahead and Storage
Storing Leftovers
If you have leftover ice cream, store it tightly covered in the freezer to maintain its smooth texture. Keeping air out is key to preventing freezer burn and preserving that delicious flavor.
Freezing
This ice cream freezes beautifully. Just make sure it’s in a container with a tight-fitting lid or sealed well with plastic wrap. Freeze it flat to keep a smooth surface, and avoid frequent temperature changes to maintain creaminess.
Reheating
While you don’t need to reheat ice cream, letting it sit at room temperature for about 10 minutes before serving helps soften it up for perfect scoops. No microwave needed—just a bit of patience for that ideal creamy texture.
FAQs
Can I use other plant-based milks for this recipe?
While oat milk and oat cream are best for achieving the perfect creaminess and flavor balance in this Chocolate Vegan Oat Milk Ice Cream Recipe, you can experiment with cashew or coconut milk, but keep in mind the texture and taste might change slightly.
Is it necessary to use Dutch-processed cocoa powder?
Using Dutch-processed cocoa powder enhances the deep chocolate flavor and gives a smoother taste, but if you don’t have it on hand, natural cocoa powder can work as a substitute—just expect a slightly different flavor profile.
Can I sweeten this ice cream with something other than maple syrup?
Yes, you can use agave nectar, brown rice syrup, or even coconut sugar dissolved into the liquid. Maple syrup offers a unique rich sweetness that pairs beautifully with chocolate, making it our top choice.
Do I absolutely need an ice cream maker?
An ice cream maker gives the best texture, but if you don’t have one, you can freeze the mixture in a container and stir it every 30 minutes to break up ice crystals until it firms up. It’s a bit more hands-on, but still delicious.
How long will the ice cream stay fresh in the freezer?
Stored properly, the Chocolate Vegan Oat Milk Ice Cream Recipe will stay fresh for about 2 to 3 weeks. Beyond that, you might notice some changes in texture or flavor, but it’s usually delicious well before then.
Final Thoughts
I can’t recommend enough giving this Chocolate Vegan Oat Milk Ice Cream Recipe a try — it’s a wonderful way to enjoy a creamy, dairy-free dessert that everyone can love. Whether you’re vegan, lactose-intolerant, or simply a chocolate lover, this ice cream is a delightful treat you’ll want to keep coming back to. So grab your ingredients, churn up some magic, and get ready for a truly luscious scoop of happiness!
Print
Chocolate Vegan Oat Milk Ice Cream Recipe
- Prep Time: 20 minutes
- Cook Time: 0 minutes
- Total Time: 4 hours 20 minutes
- Yield: 8 servings (approximately 1 litre)
- Category: Dessert
- Method: Churning
- Cuisine: Vegan
- Diet: Vegan
Description
This rich and creamy Chocolate Oat Milk Ice Cream is a vegan, dairy-free dessert made with dark chocolate, oat milk, and oat cream. It offers a smooth, luxurious texture with deep chocolate flavor enhanced by Dutch-processed cocoa and pure maple syrup. Perfect for those seeking a delicious plant-based treat that can be enjoyed as soft serve or fully frozen.
Ingredients
Chocolate Base
- 200 g vegan dark chocolate (minimum 70% cocoa solids), finely chopped
Liquid Mixture
- 360 ml unsweetened oat milk (Barista-style if possible)
- 400 ml oat cream
- 25 g Dutch-processed cocoa powder
- ½ teaspoon sea salt
- 180 ml pure maple syrup
Instructions
- Prepare: Freeze your ice cream maker bowl for at least 12 hours, ideally 24 hours, to ensure it is thoroughly chilled before use. Finely chop the dark chocolate using a serrated knife and place it in a large mixing bowl, setting it aside for later.
- Heat: Combine the oat milk, oat cream, cocoa powder, and sea salt in a saucepan. Whisk thoroughly to dissolve the cocoa powder and break up any lumps. Place the saucepan over medium heat and gently warm the mixture until it reaches a gentle simmer, stirring continuously. Avoid boiling to prevent scorching or altering the flavor.
- Flavor: Pour the heated oat milk mixture over the chopped chocolate. Let it sit uncovered for 5 minutes to allow the chocolate to melt slowly. Then, stir gently with a metal spoon until the mixture is completely smooth and homogenous. Whisk in the pure maple syrup thoroughly. Allow the mixture to cool to room temperature, then chill it in the refrigerator for 30 minutes to further develop flavor and ensure it is cold before churning.
- Churn: Transfer the chilled chocolate mixture to the pre-frozen ice cream maker bowl. Churn according to your machine’s instructions, usually between 25 to 40 minutes, until the ice cream thickens and sticks to the arm of the machine, indicating proper consistency.
- Freeze: Spoon the churned ice cream into a loaf pan or sealable container and smooth the surface with a spatula. Freeze for 3 to 4 hours until the ice cream is firm. Alternatively, enjoy immediately as a soft-serve treat right from the machine.
- Storage: Store the finished ice cream in an airtight container or covered loaf pan, sealed with plastic wrap, in the freezer. For best flavor and texture, consume within 2 to 3 weeks. Before serving, allow the ice cream to rest at room temperature for 10 minutes to achieve perfect scooping consistency.
Notes
- Use Barista-style oat milk for a creamier texture, as it has a higher fat content than regular oat milk.
- Dutch-processed cocoa powder gives a smoother chocolate flavor and darker color than natural cocoa powder.
- You can substitute maple syrup with agave nectar or another liquid sweetener, but maple gives the best flavor.
- Make sure your ice cream maker bowl is completely frozen to ensure proper churning and texture.
- Letting the ice cream rest at room temperature before scooping helps prevent it from being too hard and improves scoopability.


