“`html
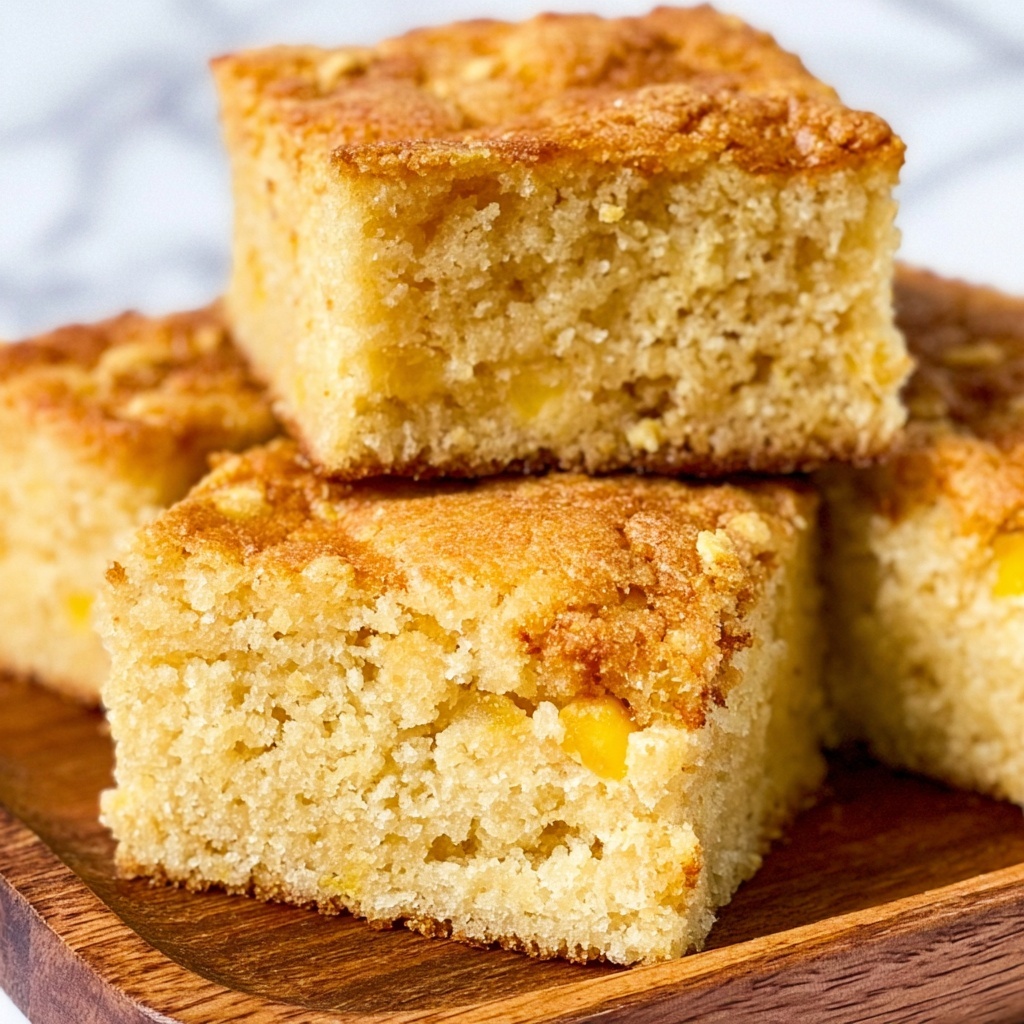
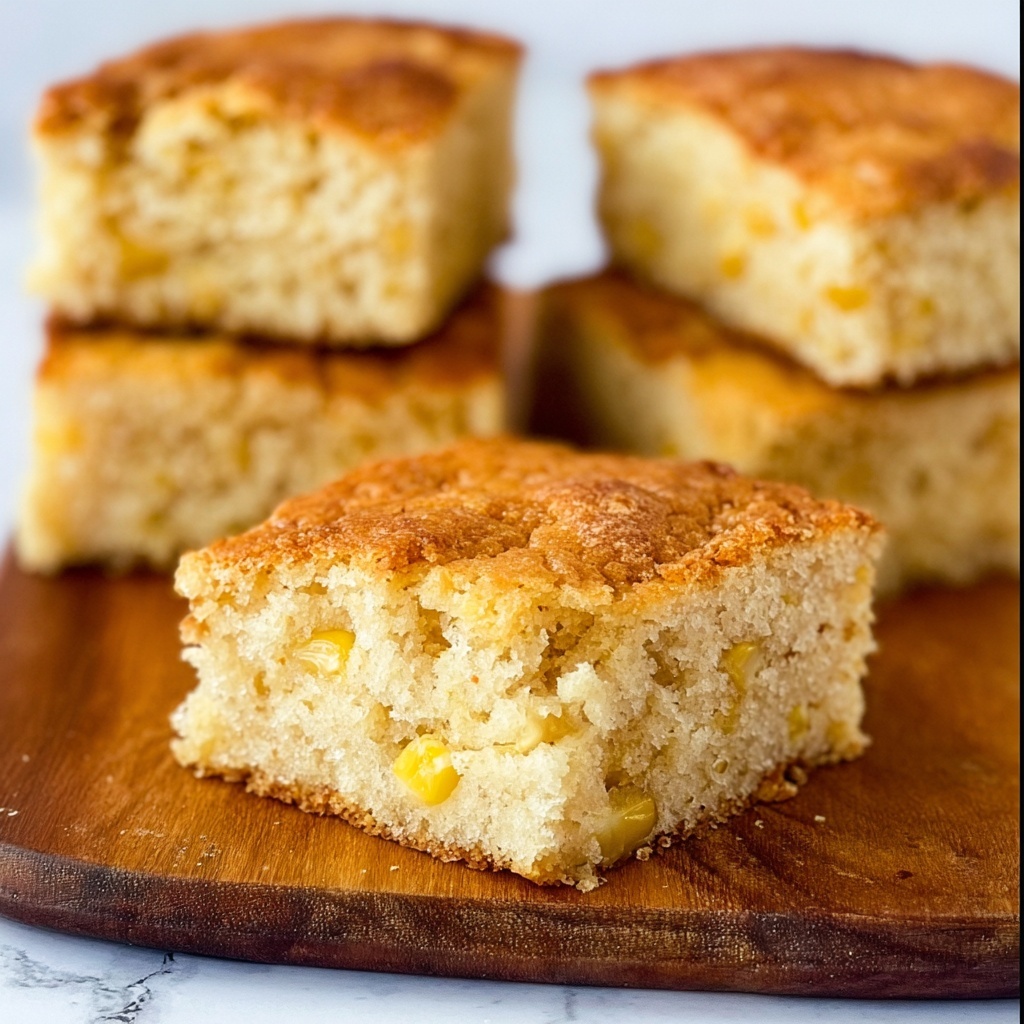
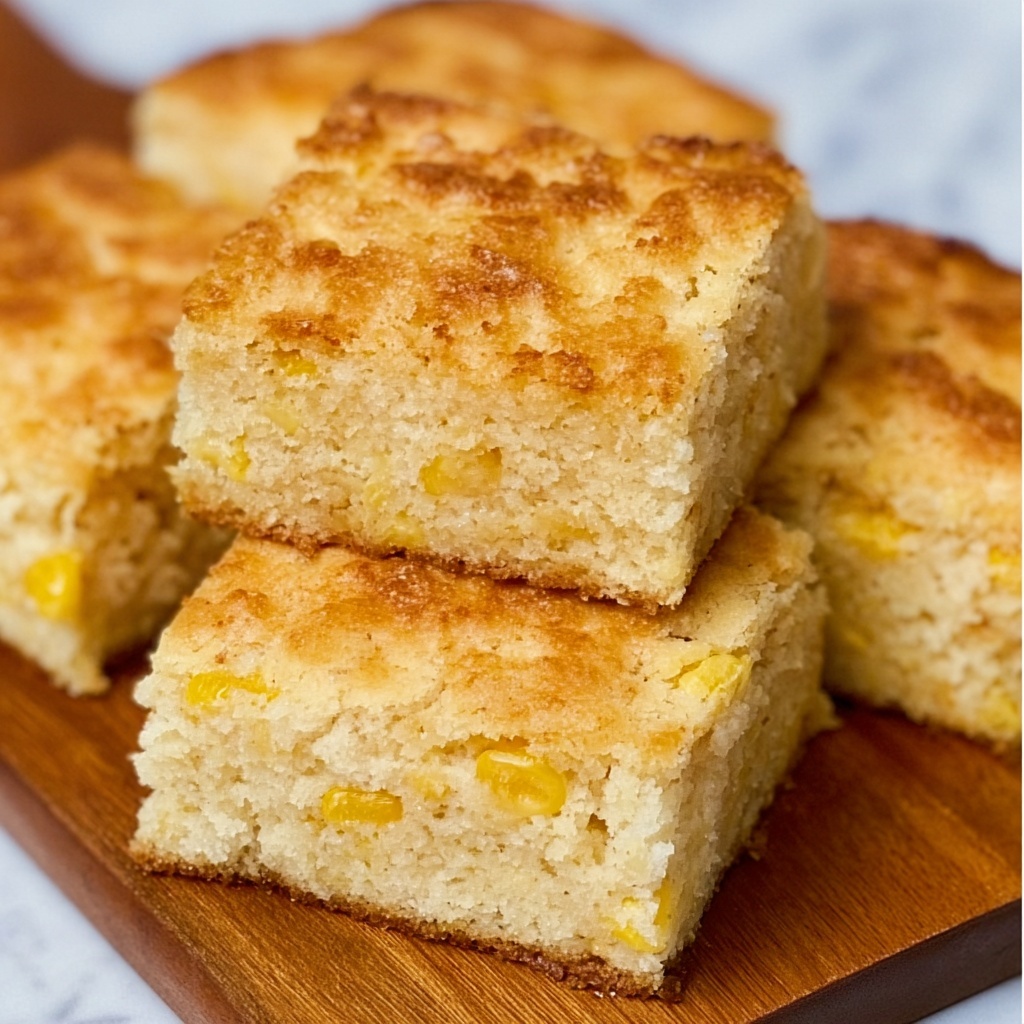
If you’re seeking a delightfully buttery, sweet, and satisfying treat that’s equally perfect for breakfast, brunch, or snacking, then you absolutely have to try the Creamed Corn Butter Dips Recipe. This simple yet scrumptious recipe perfectly combines the creamy sweetness of creamed corn with a rich buttery crust that bakes to golden perfection. Every bite melts softly with a hint of corn’s natural sweetness that pairs beautifully with the savory butter, making it comfort food at its finest.
Ingredients You’ll Need
The magic of this Creamed Corn Butter Dips Recipe lies in its simplicity. Each ingredient plays a key role in delivering amazing flavor and texture—from the smooth richness of butter to the light cakey body created by Bisquick, rounded out by eggs and luscious creamed corn.
- ½ cup butter: This adds the essential richness, creating a golden, melt-in-your-mouth base when melted in the baking pan.
- 2 cups Bisquick: The all-purpose baking mix provides structure and a tender crumb for the dips.
- 2 eggs: Eggs bind the ingredients together while giving a nice, fluffy texture.
- 1 (14.75-oz) can creamed corn: This ingredient lends a sweet, creamy note that is the soul of this recipe.
How to Make Creamed Corn Butter Dips Recipe
Step 1: Melt the Butter
Start by preheating your oven to 350ºF. Place the butter in a 9×9-inch baking pan and let it melt either in the oven as it heats or in the microwave, ensuring the bottom of the pan is luxuriously coated with warm, melted butter. This step is crucial because it infuses the dips with a rich buttery flavor and helps form that irresistible golden crust.
Step 2: Combine the Batter
While the butter is melting, grab a medium-sized bowl and mix together the Bisquick, eggs, and creamed corn. Mixing these ingredients results in a moist, sweet batter that’s ready to soak up the buttery goodness in the pan. Once combined, pour this batter evenly over the melted butter, spreading it smoothly to fill the pan completely.
Step 3: Bake to Perfection
Slide the pan into your preheated oven and bake the mixture for 25 to 35 minutes. You’ll know it’s done when the top turns a beautiful golden brown and the edges start to pull away from the pan slightly. Then, allow the Creamed Corn Butter Dips to cool just enough to handle before cutting into delightful squares.
How to Serve Creamed Corn Butter Dips Recipe
Garnishes
While they’re delicious on their own, adding a touch of garnish can elevate your Creamed Corn Butter Dips. Consider a sprinkle of fresh chopped chives or scallions for a pop of color and subtle onion flavor. A dash of smoked paprika or a light brush of honey on warm bites can add an unexpected twist that your guests will love.
Side Dishes
This recipe pairs wonderfully with a variety of dishes. Serve alongside a fresh garden salad for a refreshing contrast or as a comforting companion to hearty chili or soup. Its sweet and buttery profile complements spicy or savory mains perfectly, making it a versatile addition to any meal.
Creative Ways to Present
For a fun twist, turn your Creamed Corn Butter Dips Recipe into bite-sized finger foods by cutting into small squares and stacking them on a platter with toothpicks. Alternatively, serve warm topped with a dollop of sour cream or a smear of cream cheese, turning this simple dish into a crowd-pleasing appetizer at your next gathering.
Make Ahead and Storage
Storing Leftovers
If you find yourself with leftovers, no worries! Wrap your cut squares tightly in plastic wrap or place them in an airtight container and refrigerate. They’ll keep nicely for 3 to 4 days and retain their moist texture well.
Freezing
To freeze, lay the squares in a single layer on a baking sheet and freeze until solid, then transfer to a freezer-safe bag or container. This way, your Creamed Corn Butter Dips Recipe can be enjoyed anytime up to 2 months later without sacrificing flavor or texture.
Reheating
Reheat frozen or refrigerated dips by warming in a 350ºF oven for about 10 minutes or until heated through. Microwave reheating works too, but baking helps maintain that lovely crisp edge and buttery aroma that makes this recipe so irresistible.
FAQs
Can I use fresh corn instead of canned creamed corn?
Absolutely! Fresh corn can be pureed or processed to mimic the creamy texture of canned creamed corn, though you might need to add a touch of cream or milk to get the consistency just right.
Is there a way to make this recipe dairy-free?
Yes. Substitute the butter with a dairy-free margarine or coconut oil, and make sure to use a Bisquick alternative without dairy. The recipe will still come out deliciously moist and flavorful.
Can I add cheese to the Creamed Corn Butter Dips Recipe?
Cheese is a fantastic addition! Stir in a half cup of shredded cheddar or parmesan for an extra layer of savory richness that pairs wonderfully with the sweetness of the corn.
How thick should the batter be before baking?
The batter will be somewhat thick but pourable—think a bit thicker than pancake batter. It should spread easily over the melted butter in the pan without being runny.
What’s the best pan size for this recipe?
A 9×9-inch pan is ideal for even cooking and the right thickness. Using a pan that’s too large may make the dips thinner and affect the baking time.
Final Thoughts
This Creamed Corn Butter Dips Recipe is one of those delightful treasures you’ll want to keep returning to again and again. It’s straightforward, satisfying, and hits all the right notes of buttery, sweet, and comforting flavors. Trust me, once you bake your first batch, this dish will become a beloved staple whenever you need an easy and irresistible treat. Give it a try—you’ll be so glad you did!
“`
Print
Creamed Corn Butter Dips Recipe
- Prep Time: 5 minutes
- Cook Time: 25 minutes
- Total Time: 30 minutes
- Yield: 12 servings (12 biscuits)
- Category: Appetizer
- Method: Baking
- Cuisine: American
Description
This Creamed Corn Butter Dip recipe combines the creamy sweetness of canned creamed corn with the rich flavor of melted butter and fluffy Bisquick biscuits. Baked to golden perfection, it makes a delightful appetizer or side dish, perfect for serving at parties or family gatherings.
Ingredients
Butter
- ½ cup butter
Bisquick Mixture
- 2 cups Bisquick
- 2 eggs
- 1 (14.75-oz) can creamed corn
Instructions
- Preheat and melt butter: Preheat your oven to 350ºF (175ºC). Place the ½ cup of butter in a 9×9-inch baking pan and melt it either by placing the pan directly in the oven for a few minutes or by microwaving until fully melted.
- Mix ingredients: In a medium mixing bowl, combine 2 cups of Bisquick, 2 eggs, and the entire 14.75-ounce can of creamed corn. Stir the mixture well until all ingredients are thoroughly blended.
- Combine and spread: Pour the Bisquick and creamed corn mixture into the baking pan over the melted butter. Spread the mixture evenly throughout the pan to ensure uniform cooking.
- Bake: Place the pan in the preheated oven and bake for 25 to 35 minutes. Bake until the top turns golden brown and a toothpick inserted into the center comes out clean.
- Cool and serve: Allow the baked dip to cool slightly in the pan. Once cooled, cut it into squares and serve warm as a delicious butter dip.
Notes
- Use fresh butter for the best flavor and texture.
- Make sure to spread the mixture evenly for uniform baking.
- Check the dip at 25 minutes to avoid over-baking; timing may vary slightly depending on your oven.
- This dip pairs well with crackers, breadsticks, or vegetable sticks.
- For a gluten-free version, substitute Bisquick with a gluten-free baking mix.


